Ok confession time: I have a new obsession with cookie decorating. It started with the cookies I made for my son’s moustache party. I decided I could’ve done a much better job and needed to up my game. When we decided to throw our good friend a surprise 30th birthday party, I took the opportunity to I try my hand at piping and flooding cookies.
I watched numerous (too many??) tutorials for this and in the process discovered quite a few great blogs, but my favourite by far is SweetAmbs – her work is UNBELIEVABLE. It is truly edible art. Even then, I don’t know that I could bring myself to eat them; they’re all just so pretty! I now know what I aspire to create – I’m going to need a LOT of practice!
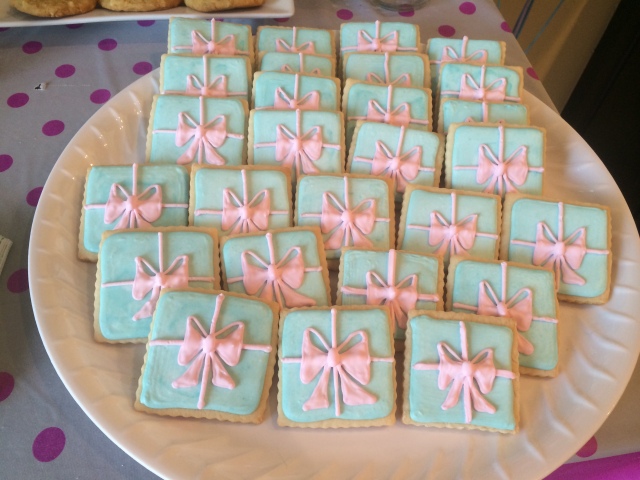
The party theme was mason jars, but I couldn’t find a mason jar cookie cutter, so I decided to make small gift cookies using a square cutter. I made regular sugar cookies following the recipe from Canadian Living. The party colours were turquoise and light pink so I decided to flood the cookies in the aqua and add pink “ribbon” and bows.
While my cookies weren’t even close to perfect, I was pretty happy with the outcome considering it was my first time.
Like I mentioned, the perfectionist in me wasn’t 100% satisfied with the final outcome, but it’s all about trial and error. A few things I learned from this first batch:
- In hindsight, I should have flooded the cookies and put the ribbon detail on wet on wet, but I had run out of royal icing ingredients so ended up doing it in two stages – first flooding and then adding the ribbon and bow once it had dried (the next day).
- Another mistake I made was storing the flooded cookies in a tupperware container overnight between the stages. I used wax paper between the layers, but the icing hadn’t 100% dried so some of them had weird discoloration. Luckily, the ribbon and bow covered most of that up.
I used #2 and #3 piping tips (#2 for piping, #3 for flooding). Another confession: I used pre-made royal icing mix that I bought from Bulk Barn. I needed to play around with my icing consistency as this is really key to making successful cookies.
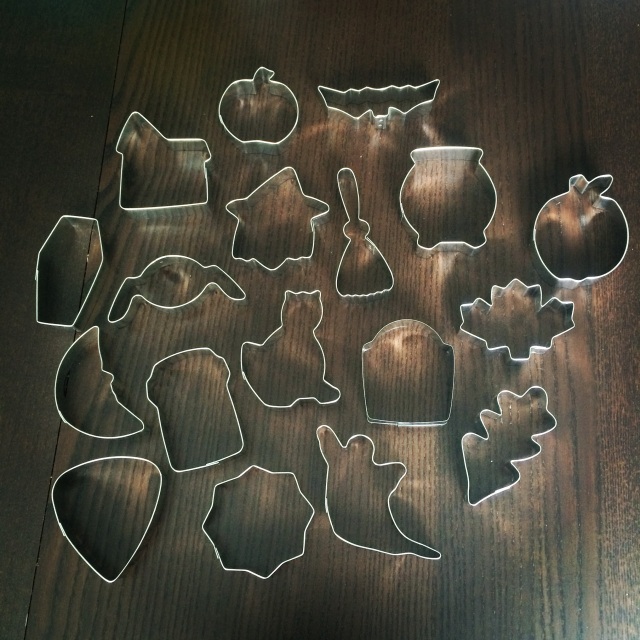
Last week, I found an 18 pack of awesome fall and Halloween cookie cutters (for only $10!!) so I was very excited to get decorating some Halloween cookies.
I used the same sugar cookie recipe as before but I added some pumpkin spice (ground ginger, cinnamon, allspice, nutmeg, and cloves). I only used the pumpkin, spider web and ghost cutters for starters because I didn’t want to get too crazy with the different colours of icing I’d be using.
I decided to try making my own royal icing this time. I followed the recipe from Joy of Baking using meringue powder and it was SO easy. Getting the right consistency can be a bit tricky but I added my water one tablespoon at a time and if I overdid it with the water, just added a bit of powdered sugar to adjust. It was much easier than I expected. I also decided to add some vanilla extract. One thing I learned about adding flavouring to royal icing is to stick with extracts and stay away from oil as it’ll change the properties of the icing.
This time around, I also wanted to try a few techniques I’d seen on the many (many) video tutorials I watched including marbling and transfers.
I started off with the pumpkins – I only had 2 piping bags left and only have one #2 and one #3 piping tip so I actually just used Ziploc bags with the corners cut out to pipe and flood the pumpkin cookies. It worked surprisingly well! Not to mention it’s much more cost effective. My green icing was a little thicker than I would have wanted but I think they turned out ok in the end.
I did the pumpkins in the afternoon while the baby napped (she was nice enough to give me a nice long one J) and when I was done the pumpkins, I piped out the spider body transfers using my purple icing. Unfortunately, the baby woke up just as I was starting so I had to rush to finish them and the designs on their backs aren’t as nice as I’d planned. I let them out to dry for the afternoon.
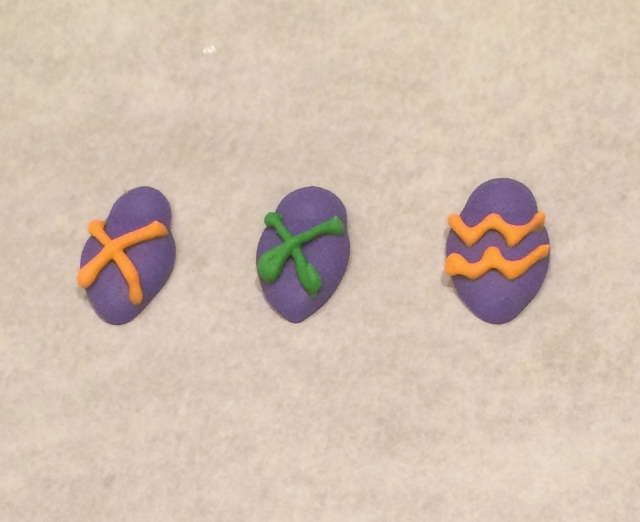
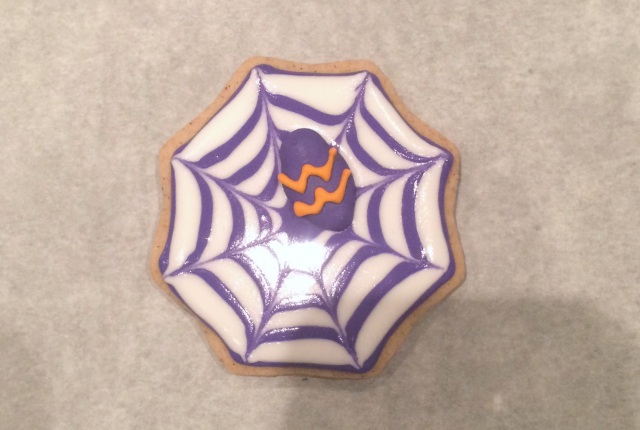
I made the spider bodies by piping a large dot and dragging the bottom a bit with a toothpick for the body and a smaller dot for the head.
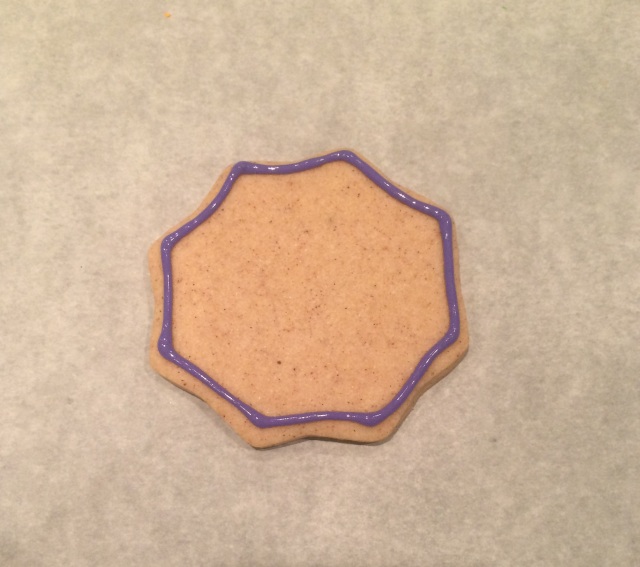
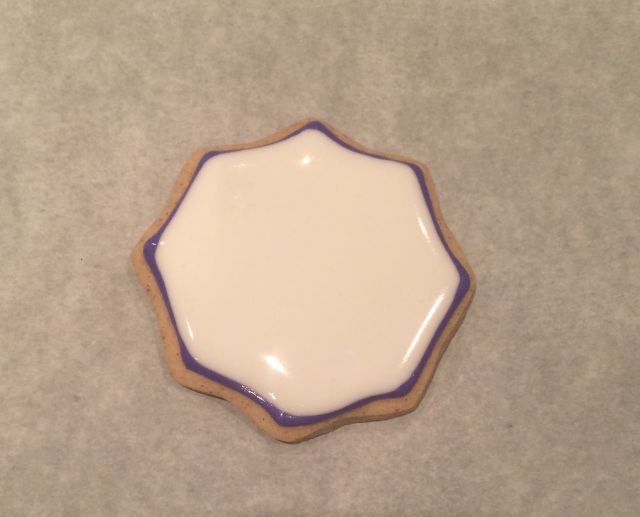
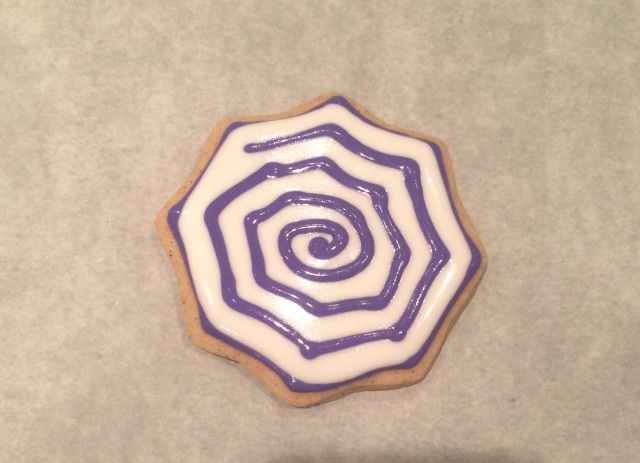
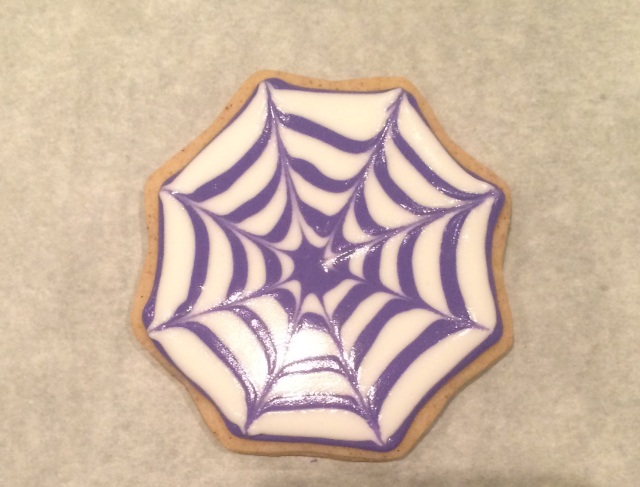
I finished the rest of the cookies later that night after the kids went to bed (so forgive the poor lighting in the pictures!) For the spider webs, I piped the outside in purple (I’m not a fan of black and wanted something more colourful), flooded with white.
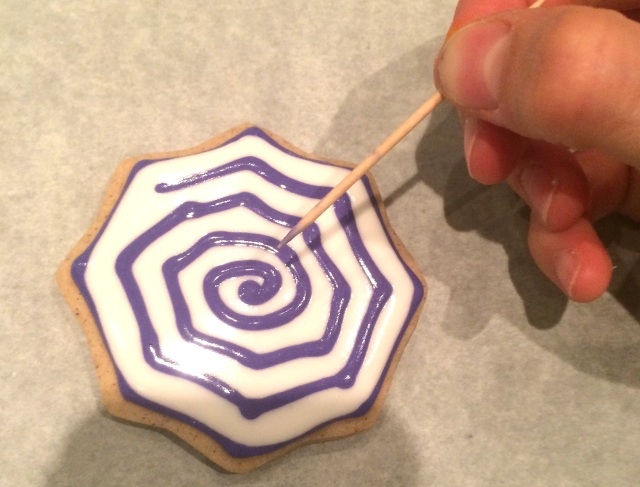
I then went back with the purple (on the wet icing) to create the cobwebs in a circular pattern.
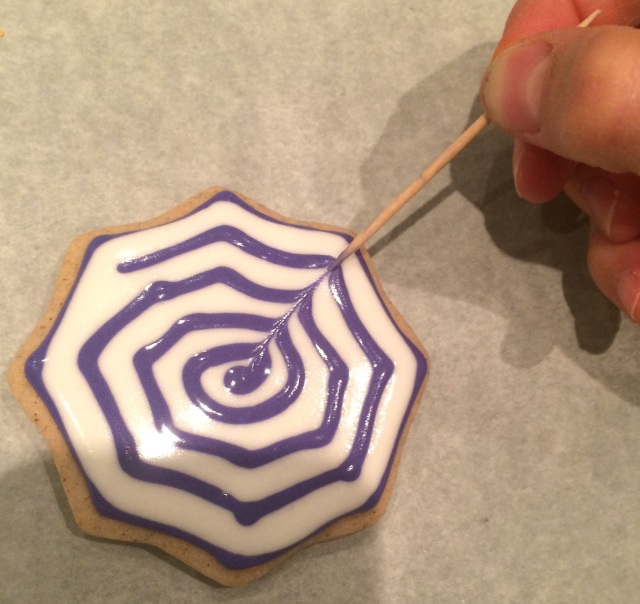
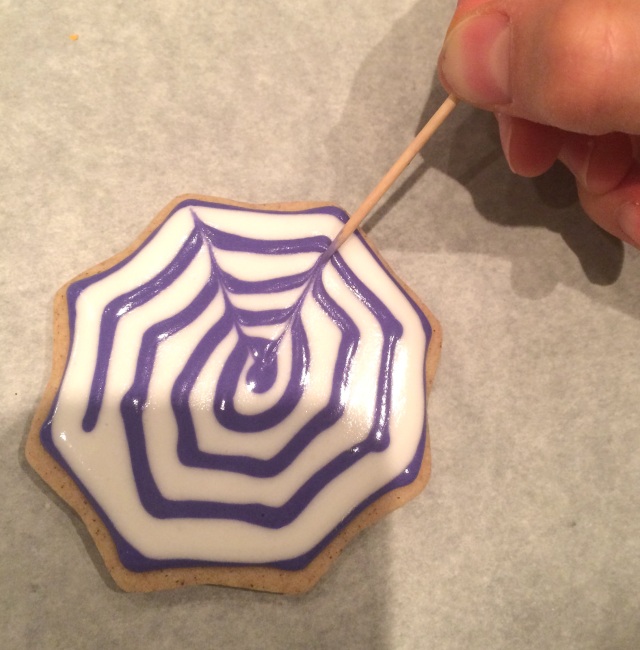
I just used a toothpick to marble the web pattern, starting in the center and lightly dragging out towards the corners.
While the icing was still wet, I plopped the spider body onto the cookie. I waited for them to dry a bit then went back to pipe the legs directly onto the cookie.
These were honestly so much fun to make and I wished I had baked more of them.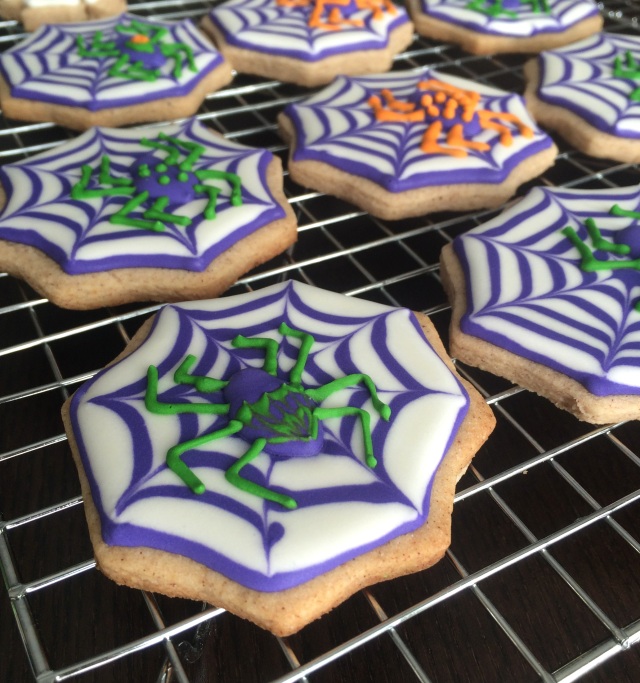
I saved the ghosts for last. They were very simple and I kind of regretted not going with a different shape so that I could have had more fun with them. My confidence had built from doing the spider webs and I wanted to try my hand at more intricate designs! I piped and flooded in white and added eyes and spooky mouths in purple.
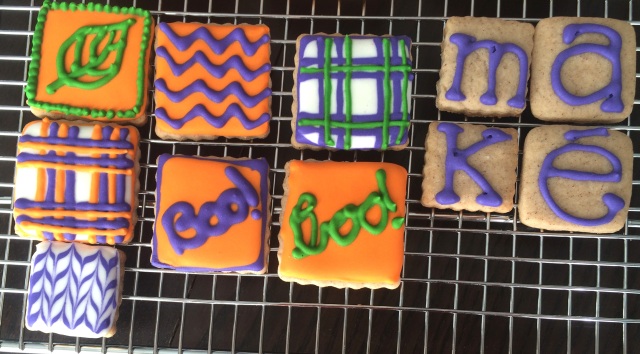
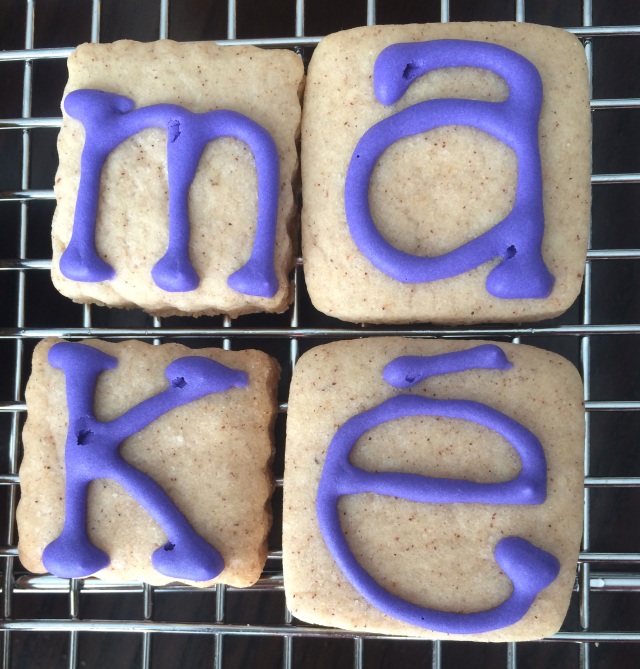
I refuse, REFUSE to throw out perfectly good cookie dough, so any leftovers or scraps that don’t fit my cookie moulds still get baked. I’d cut out some small square cookies from the spaces between the real ones to use as practice (and tasting!) pieces. I tried my hand at some plaid, chevron and herringbone, and of course one small tasting cookie for everyone in the family.
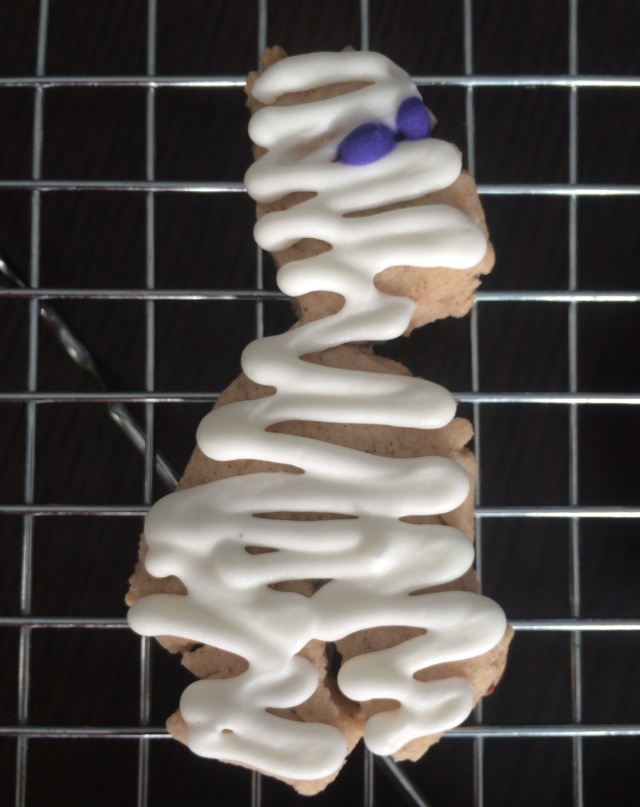
I also bake scraps (yes, I’m THAT crazy about cookie dough waste). My husband pointed out that one of the scraps kind of looked like a mummy…so a mummy he became! To be honest, this might just be my favourite one hihi.
So there they are, my second attempt at decorating cookies ready to go for Halloween! I still need a lot of practice but I’m pleasantly surprised at how fun these were to do so I’ll just keep making more!
Now I’m hooked! All I can think of are excuses to bake cookies and decorate them! Luckily, Christmas is just around the corner and I’ve got friends getting married and having babies so I will have lots of opportunity to practice 🙂
