Being on maternity leave means I spend the majority of my days at home; more specifically, in the family room and kitchen. Unfortunately for my husband and our bank accounts, that means I have oodles of time to think of home decor and renovation ideas. My current fixations are upgrading the laundry/mud room (which is in the works – stay tuned for that post) and adding colour to the kitchen and family rooms. Both rooms share an open concept space and everything is brown. Boring, blah, brown. We have dark brown cabinets in the kitchen (I’d LOVE light cabinets but that’s not in the budget), taupe walls, light brown tile in the kitchen, brown maple hardwood in the family room and the furniture is all brown or black. VERY neutral. And VERY boring. So I’ve found some fabric to add colour to the windows and some colourful accessories for both spaces to help bring in pops of colour and liven the place up.
One great way to add colour that isn’t permanent (therefore not a huge commitment) is with throw pillows. Enter my sewing machine!! I was excited to finally get to use some of the goodies my mother-in-law got me for Christmas (she gave me an awesome “sewing necessities” kit!). I found this awesome tutorial for very easy (read: beginner-friendly) throw pillow covers – also known as a pillow case. It’s very simple: one piece of fabric for the front of the pillow and two pieces that overlap for the back to create the opening. Bonus: this means it’s removable and washable. Then it’s just a few simple stitches: hemming the edges of the pieces that will overlap, and then sewing the works of it together, good sides together.
I’d ordered these lovely fabrics from Hawthorne Threads with the intent of making throw pillows and other decorative elements for our master bedroom, but I decided to use the geometric yellow for the family room – it goes with the colour scheme we’ve chosen and I had the perfect amount of fabric for the pillows I already had on hand.

I decided the geometric pattern and bright yellow of the middle fabric would be perfect to add some life to our family room.
After a quick run to Starbucks for a treat, I got set up on our kitchen table (because my craft room is another projectI’d like to tackle this year hehe), and went at it.
My pillows were 13×13 (in) so the dimensions I used for my fabric pieces were:
1 piece – 14×14
1 piece – 14×10
1 piece – 14×12
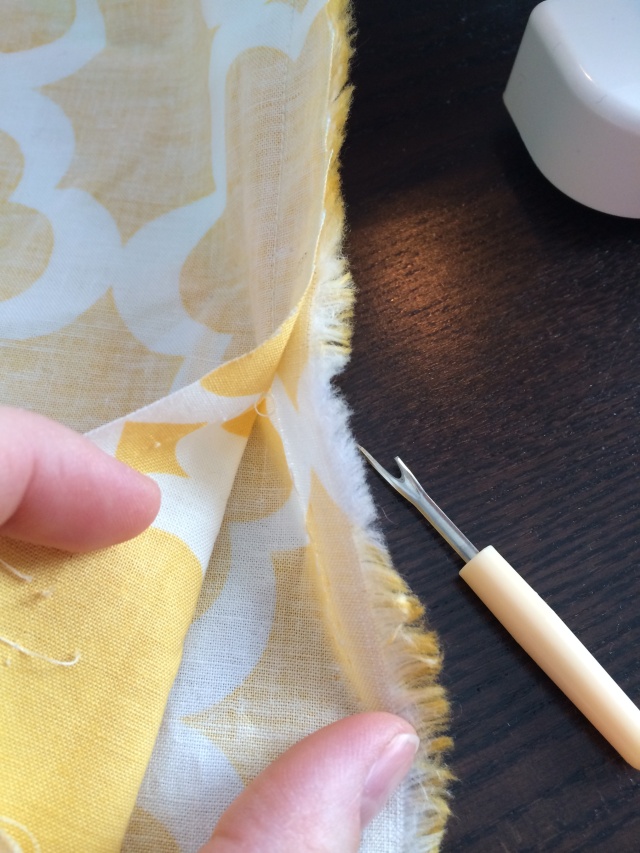
For some reason I couldn’t get the fabric perfectly flat with the iron but in the end that didn’t really matter. This project is so easy, I had time to cut, iron, pin and sew the works of it while the wee one napped. She’s a good napper this one! Not like her brother was. But of course, because no project of mine ever goes off without a hitch, when I’d finished sewing my second pillow, I turned it inside out only to realize I’d sewn the front piece wrong side in. So, after kicking myself a few times, I got the seam ripper and started over.

It wasn’t as bad as I thought it would be, but you can bet I’ll double check before stitching from now on!
Luckily it all came together in the end. Considering this was by far my most rushed and sloppiest sewing job ever (for fear that I’d run out of nap time), I’m pretty pleased with how it turned out.
So there you have it, instant punch of colour! And a few lessons learned:
1) Don’t rush a sewing project;
2) ALWAYS check your pieces before you sew; and
3) When things go south:


Love those sharp accents.
I have a powerful neuroscientific trick to stimulate ideas about a space you’re looking to change sit in an inappropriate place, like on the kitchen countertop or directly in front of the fireplace or stand with your back against a wall in a place where nothing usually hangs or touches. Now, look out at the room from that new perspective. Another good one is to stand on a chair and look down at the room from a corner where people usually do not stand or sit.
Your brain has the space mapped out in your mind according to use. When you suddenly “use” it differently, new neural connections are made and you’ll get crazy new ideas you never would have thought of otherwise. Good stuff.
Have fun!
PS: Buy giant shirts at Goodwill and cut them up for fun fabric projects. Waaaay cheaper than a fabric store and a lot of those patterns are vintage.
Those are great tips!! Thanks so much for sharing – I’ll have fun trying them out 🙂
Just don’t tell your husband that his pregnant wife is climbing on furniture. Male hissy fits are a sight to be seen.